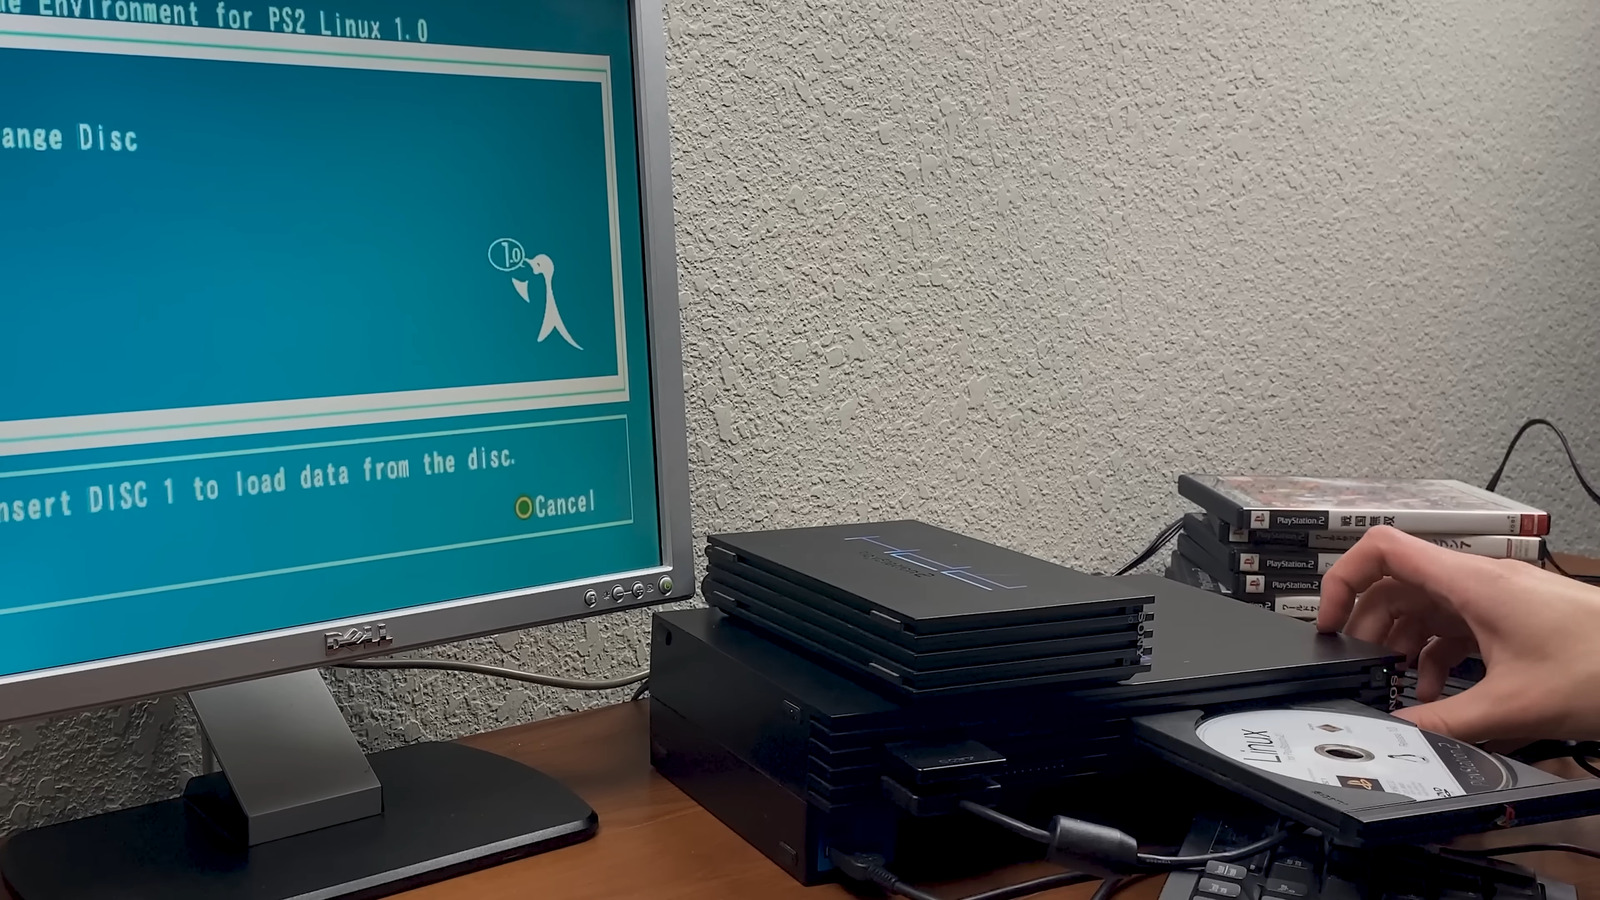
Before looking for the Linux disks, know that your PS2 model and disk regions should match. You need a Japanese install disk for a Japanese PS2, a U.S. disk for a U.S. PS2, and so on.
If you’ve found the disks but can’t acquire the full Linux for PS2 kit, you can make do with an HDMI cable and compatible computer monitor, a standard USB keyboard and a mouse, an official Sony PS2 Network adaptor, an official Sony PS2 IDE hard drive, an 8MB PS2 memory card, an Open Source Scan Converter (OSSC), and an HD retrovision component cable.
You can set up the hardware once you have all the necessary peripherals.
-
Install your Sony network adaptor and IDE hard drive into the PS2.
-
Connect your mouse and keyboard to the console using the USB ports located at the front.
-
Use the HD retrovision component cables to connect the PS2 and the OSSC.
-
Use the HDMI cable to connect the OSSC and your computer monitor.
-
Insert your PS2 memory card into your console and turn the PS2 on.
Stay connected with us on social media platform for instant update click here to join our Twitter, & Facebook
We are now on Telegram. Click here to join our channel (@TechiUpdate) and stay updated with the latest Technology headlines.
For all the latest Gaming News Click Here
