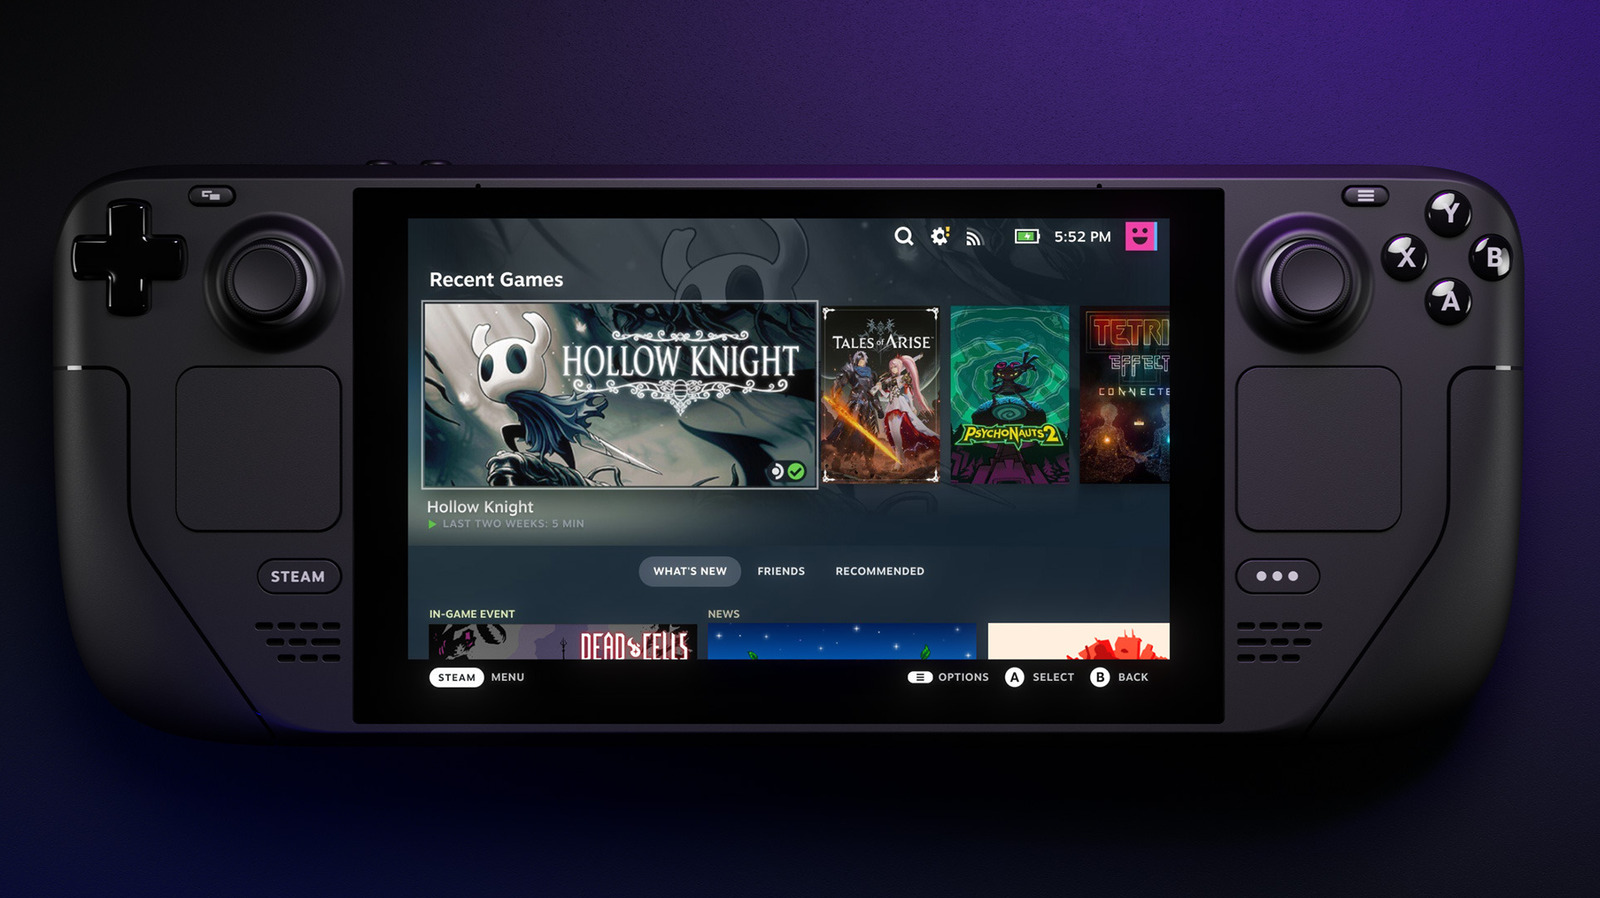
Assuming you followed the steps in the previous section, you’re now ready to install Windows on the Steam Deck. The process is fairly simple, though if you’ve never installed Windows on a machine before, it may feel a tad intimidating. In case you get stuck during the process or want to roll back to Steam OS, you can use the rollback instructions by Valve. With that in mind, follow these steps to install Windows on the handheld console:
1. With the Windows 10 installation media handy, you can start by plugging it into your Steam Deck. Next, switch off the gaming console so that you can enter its Boot Manager while restarting. To enter the Steam Deck’s Boot Manager, hold down the power and the volume down buttons simultaneously.
2. Once you enter the Boot Manager, use the direction pad to move down to options other than the default one. Find “EFI USB Device” and press the button A to select the option. This will make your Steam Deck boot into the Windows installer.
3. Choose your region, language, and keyboard type on the Windows installer, and then tap “Next” using touch input on the Steam Deck. On the following screen, tap “Install Now.”
4. If you have Windows 10 product key, you can input it on the next screen. If you don’t, tap “I don’t have a product key.” Agree to the terms on the next page and then choose the option that says “Custom: Install Windows only (advanced).”
5. Next, you will have to delete the existing storage partitions and create a new one so that the existing operating system does not interfere with the fresh Windows 10 installation. Tap each partition and then tap “Delete.” You can also proceed by simply formatting the partition with the largest storage space.
6. Once the storage has been formatted, select the largest drive and tap “Next.” The Windows installation will begin, and you will have a freshly installed copy of Windows. Go through the setup, and you will land on the Windows desktop once you finish. Note that the Wi-Fi will not work during the setup process, and you will need a USB-C dongle with Ethernet support if you need to sign in to your Microsoft account while setting things up.
7. After installing Windows 10, install all the drivers one by one. Further, the last step is to flip the display orientation from portrait to landscape. To do that, go to System Settings > Display and select “Landscape” under “Scroll down to Display Orientation.”
Now you will have installed Windows 10 successfully on your Steam Deck, and you can enjoy various games for Windows, including ones that are available through other game stores.
Stay connected with us on social media platform for instant update click here to join our Twitter, & Facebook
We are now on Telegram. Click here to join our channel (@TechiUpdate) and stay updated with the latest Technology headlines.
For all the latest Entertainment News Click Here
