On Diwali, there is a lot of work to be done, including cleaning and preparing sweets, and there is obviously not enough time to adorn the house in time for the festival of lights. Diwali will only be a few days away by the time you realise it, making it too late to prepare for elaborate décor. At the last moment, decorating your home will require too much time, money, or effort. However, nothing is more special than adorning your house with homemade items made by your own family. Making a craft together as a family that represents a celebration can improve family ties and teach kids about traditions, customs, and culture. While also engaging their creative brains to visualise, come up with, and carry out ideas, here are a few easy last-minute Diwali DIY décor suggestions that will be unique, budget-friendly, and make your house glitter. (Also read: Diwali 2022 decoration ideas: Top tips to make your home festive ready )
1. Paper lantern craft
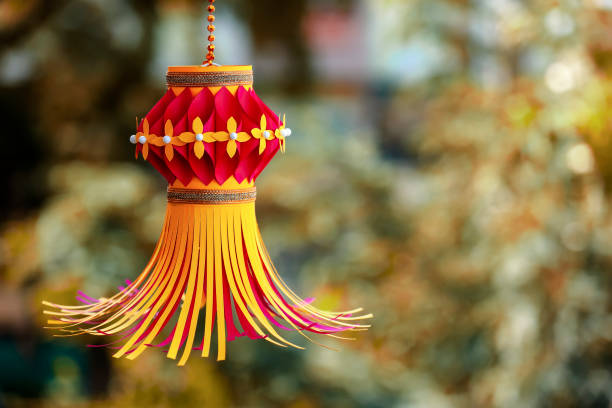
Materials:
- Popsicle Craft Sticks
- Tracing Paper
- Metallic Washi Tape
- Color Markers
- Glue
- Hot Glue
- Pencil
- LED Tealight Candle
Instructions:
1. Glue four craft sticks together to make the sides of the lantern. If you want to add the base to the lantern, make one more craft stick square.
2. Cut 4 square pieces of tracing paper.
3. Trace and colour the mandala pattern on one of the tracing papers.
4. Glue the tracing papers to the wood stick squares.
5. Glue the sides together using a hot glue gun. You can also regular white glue. It just takes a little extra time to dry.
6. Decorate the lantern edges with washi tape. Place an LED tealight candle inside it and you are all set to decorate your house for the festival season.
2. Paper diya
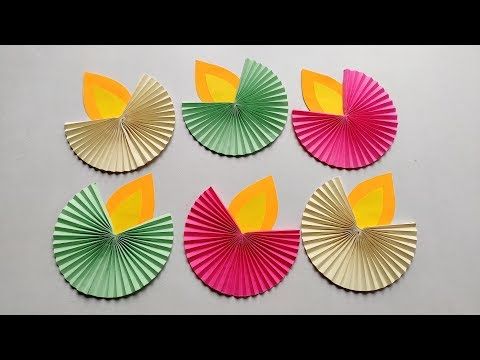
Materials:
- Lots of coloured paper
- Glue
- Corrugated sheet
- Markers
- Scotch Tape
- Sequin stickers
- Scissors
Instructions:
1. Cut out 2-inch strips from an A4 sheet of paper and cut strips along the shorter edge.
2. Start making small folds along its longer edge. If you have a scorer, measure and score each card and then it gets easier for younger kids to fold.
3. Cut out a 3-inch strip from our paper tape and stuck half of the tape on one side. Carefully bring the other end together and stick the two ends together as shown. Fold the excess tape at the back.
4. Repeat the same step to make multi-coloured Diya shaped folds. You could make them all in one colour or two tones.
5. Cut out a flame shape piece from an orange corrugated paper. You could use any paper. Add some accents to it with a red marker and some glitter.
3. Paper leaf toran
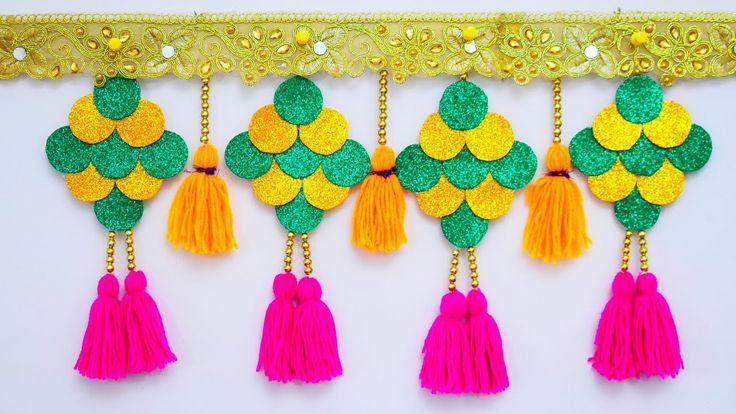
Materials:
- Leaf
- Cardstock Papers
- Scissor
- Glitter Gel Pen
- Twine
- Hole Punch
Instructions:
1. Trace and cut out the shape of the leaf from multi-colour cardstock papers. You can download the leaf template.
2. Punch two holes on the wider side of each leaf as shown below.
3. Draw midrib and veins on the leaf using a glitter gel pen and thread all the leaves on a twine. You can also use kalava for garland which is also used as a sacred Hindu thread.
4. That’s it! Your beautiful garland is ready to showcase on doors, fireplaces or walls.
4. Paper plate rangoli
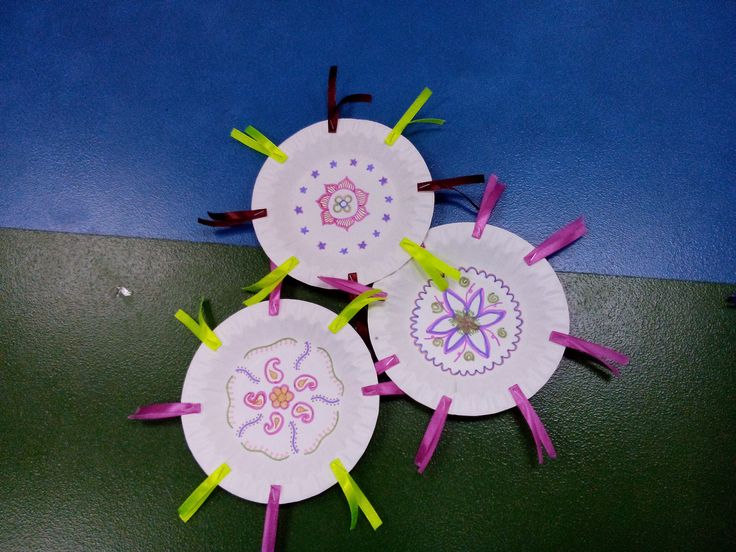
Materials:
- Colored papers
- Paper moulds
- Mirror beads etc.
Instructions:
- Cut a light-coloured sheet in a circle. Let it be large enough.
2. Cut the shape of a heart from two different colours, leaf shape from two other colours, stars from another colour, and small circular shapes from two colors.
3. Keeping symmetry in mind, start from the centre. Paste the circular portions at the dot centre.
4. Paste alternate heart shapes around the circle. Move outwards and paste leaves at distances.
5. Fill them up with stars. Stick mirrors on the circle to enhance the beauty.
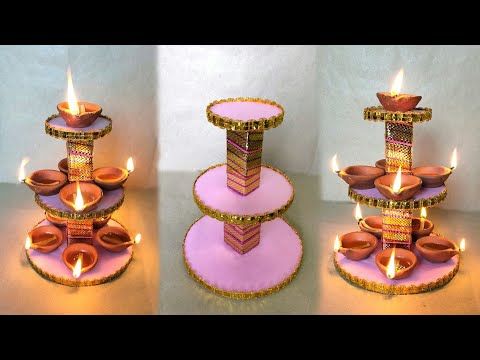
5. Decorative candle holders
Materials:
- Air-dry clay
- Acrylic Paint
- Candlestick
- A tea cup saucer
- Cutter
- Brush
Instructions:
1. Place a saucer over a rolled-out piece of clay. And trim around the edges. Cut off the excess and smoothen the newly shaped cylinder that will be used to hold the candlestick.
2. Spray some water in the middle of your saucer-shaped clay and place your cylinder-shaped clay piece.
3. Apply some glue inside later on if you want it to be extra sturdy. In order to get the desired shape, we will insert it into a bowl and let it dry for a day.
4. The next day you can remove your candle holder and leave it aside for the bottom to dry. Come back again with your choice of colors prepared.
5. Brush the insides of our candleholders and leave the exteriors as it is for a beautiful contrast. You now have a set of colourful candle holders.
Stay connected with us on social media platform for instant update click here to join our Twitter, & Facebook
We are now on Telegram. Click here to join our channel (@TechiUpdate) and stay updated with the latest Technology headlines.
For all the latest Festivals and Events News Click Here
