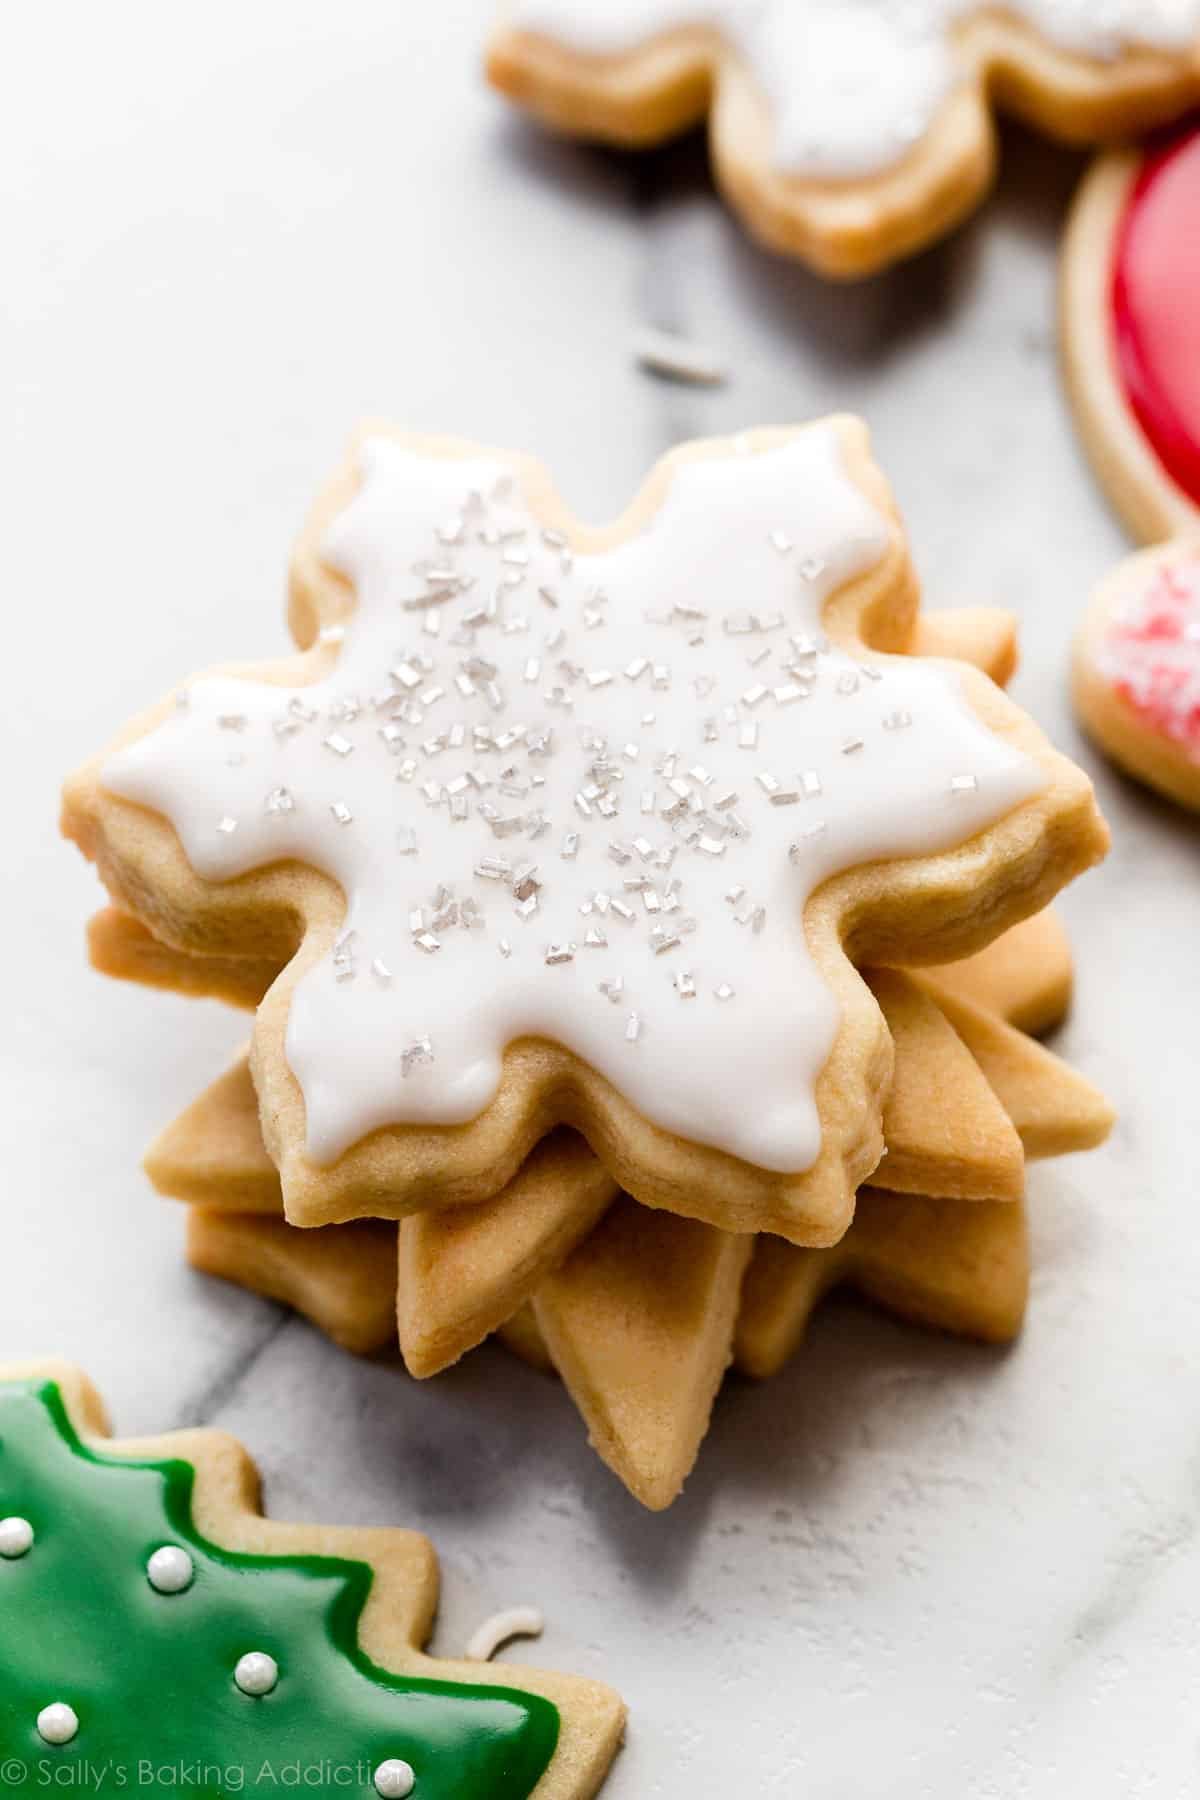
These are fan-favorite cut-out Christmas sugar cookies! My recipe for sugar cookies promises flavorful cookies with soft and thick centers, slightly crisp edges, and flat tops for decorating. The dough comes together with 8 simple ingredients and the cookies hold their cookie cutter shape in the oven. Decorate them with my easy glaze cookie icing, a wonderful alternative to royal icing. Get out your rolling pin and favorite cookie cutters and have fun!

The holiday season and a batch of decorated Christmas sugar cookies go hand-in-hand. Today’s recipe is a classic staple, and has been a popular favorite since I first published it in 2014. It’s basically my favorite sugar cookie recipe, but all dressed up for the holidays. And I love that you don’t need to mess with royal icing! The cookie icing below is unfussy and low maintenance, which is definitely appreciated if you’re baking a lot of cookies in December. ????
One reader commented: “These are the BEST cookies! The dough is so easy to put together and to work with. They taste amazing; buttery and not too sweet. They cooked up perfect, just like you said, crispy on the edges with a nice soft middle!! And the icing…oh the icing! It’s the perfect consistency for using a squeeze bottle and yet it sets up firm and glossy so you can stack the cookies or pack and ship them. ★★★★★”
Here’s Why You’ll Love These Christmas Sugar Cookies
- Soft, thick centers with slightly crisp edges
- Irresistible buttery vanilla flavor
- Made from simple ingredients
- Leave plain or flavor with extras like maple, cinnamon, peppermint, and more
- Hold shape while baking
- Icing is manageable for young bakers and beginners
- Freeze beautifully
- Easy-to-follow recipe used by beginner and expert bakers alike
By the way, if you love sugar cookies, but aren’t up for decorating with icing, you’ll enjoy my stained glass window cookies, Christmas sparkle cookies, or drop Christmas sugar cookies instead.
How to Make Christmas Sugar Cookies
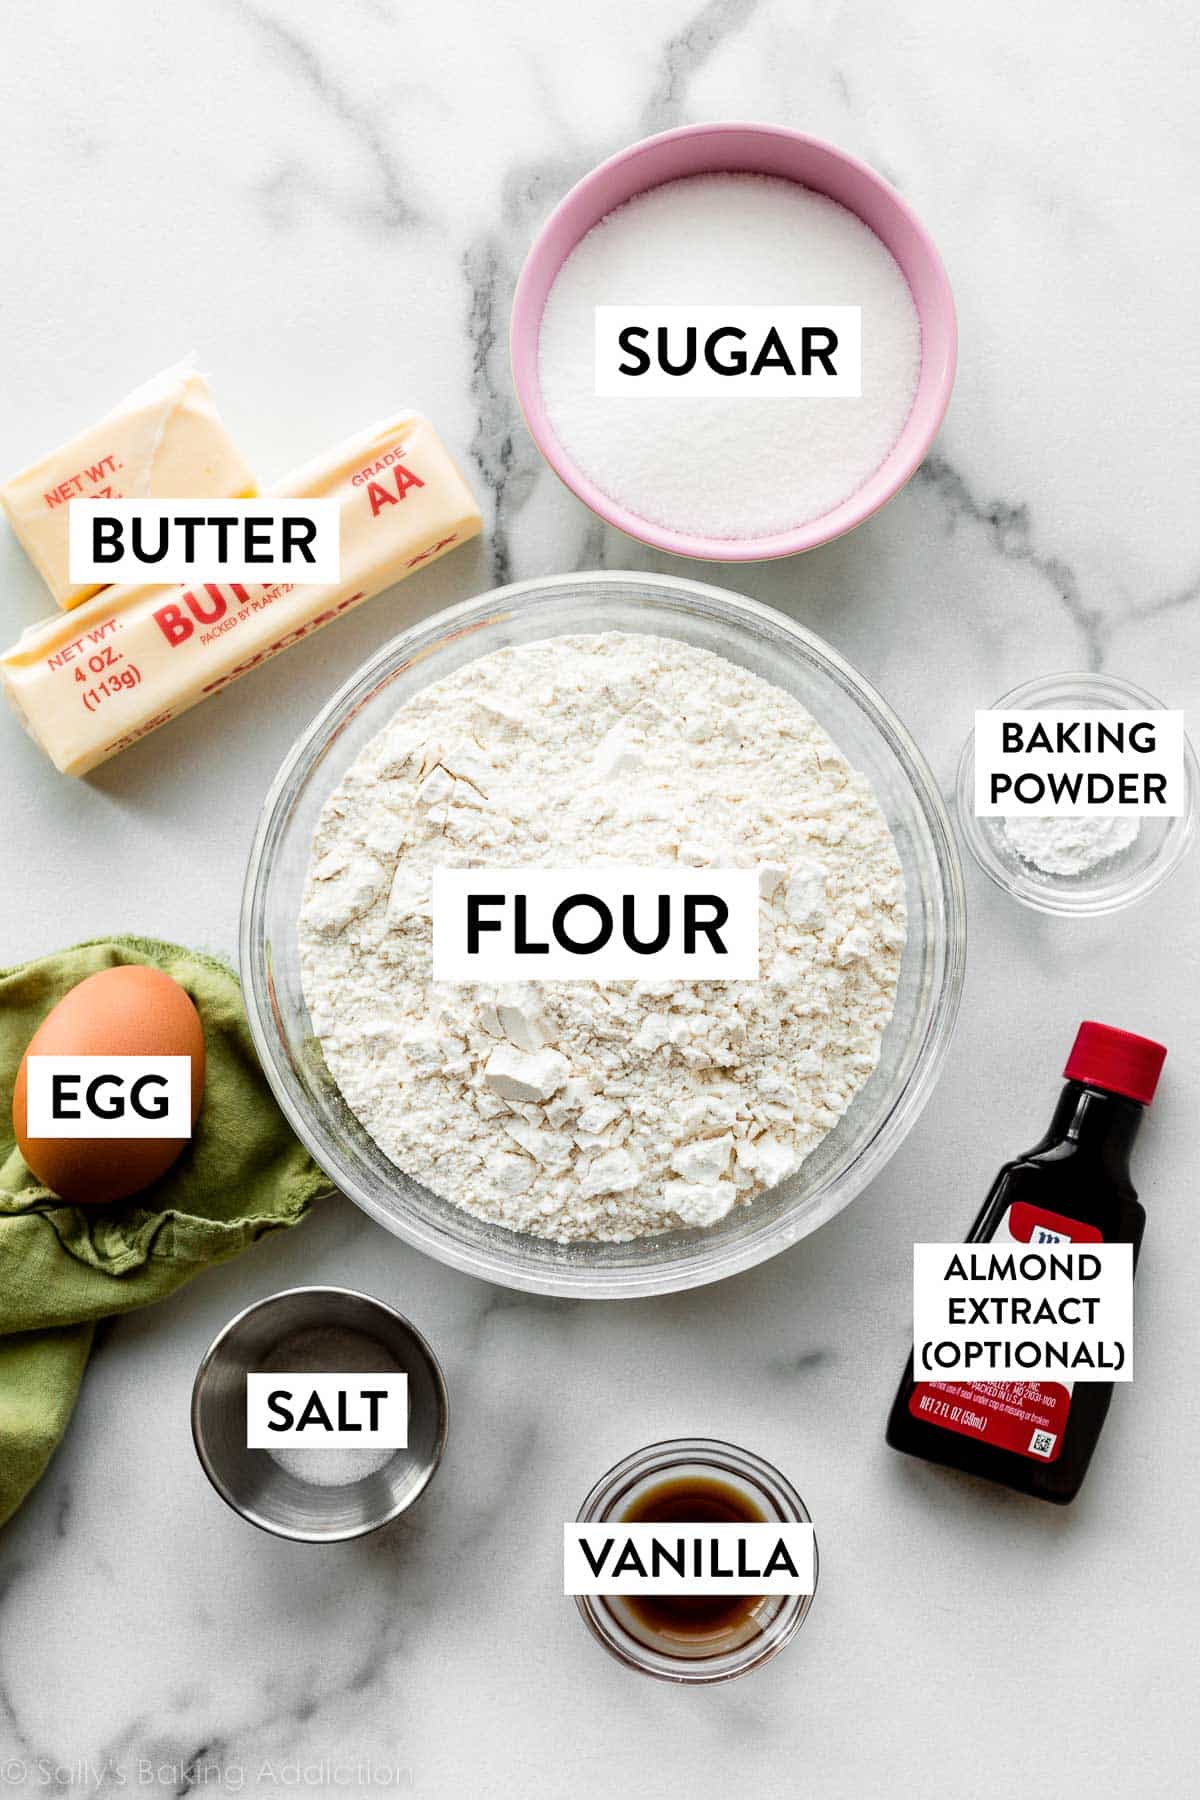
You need 7–8 ingredients for the dough. With so few ingredients, it’s important to follow the recipe closely, because each one has an important job. Creamed butter and sugar form the base of the dough. Egg and flour provide structure, and vanilla adds flavor. I almost always add a touch of almond extract for additional flavor, and highly recommend that you try it too! You could also use peppermint extract or another flavor extract instead. Baking powder adds lift, and salt balances the sweet.
So many little ingredients doing big jobs to create a perfect cookie:
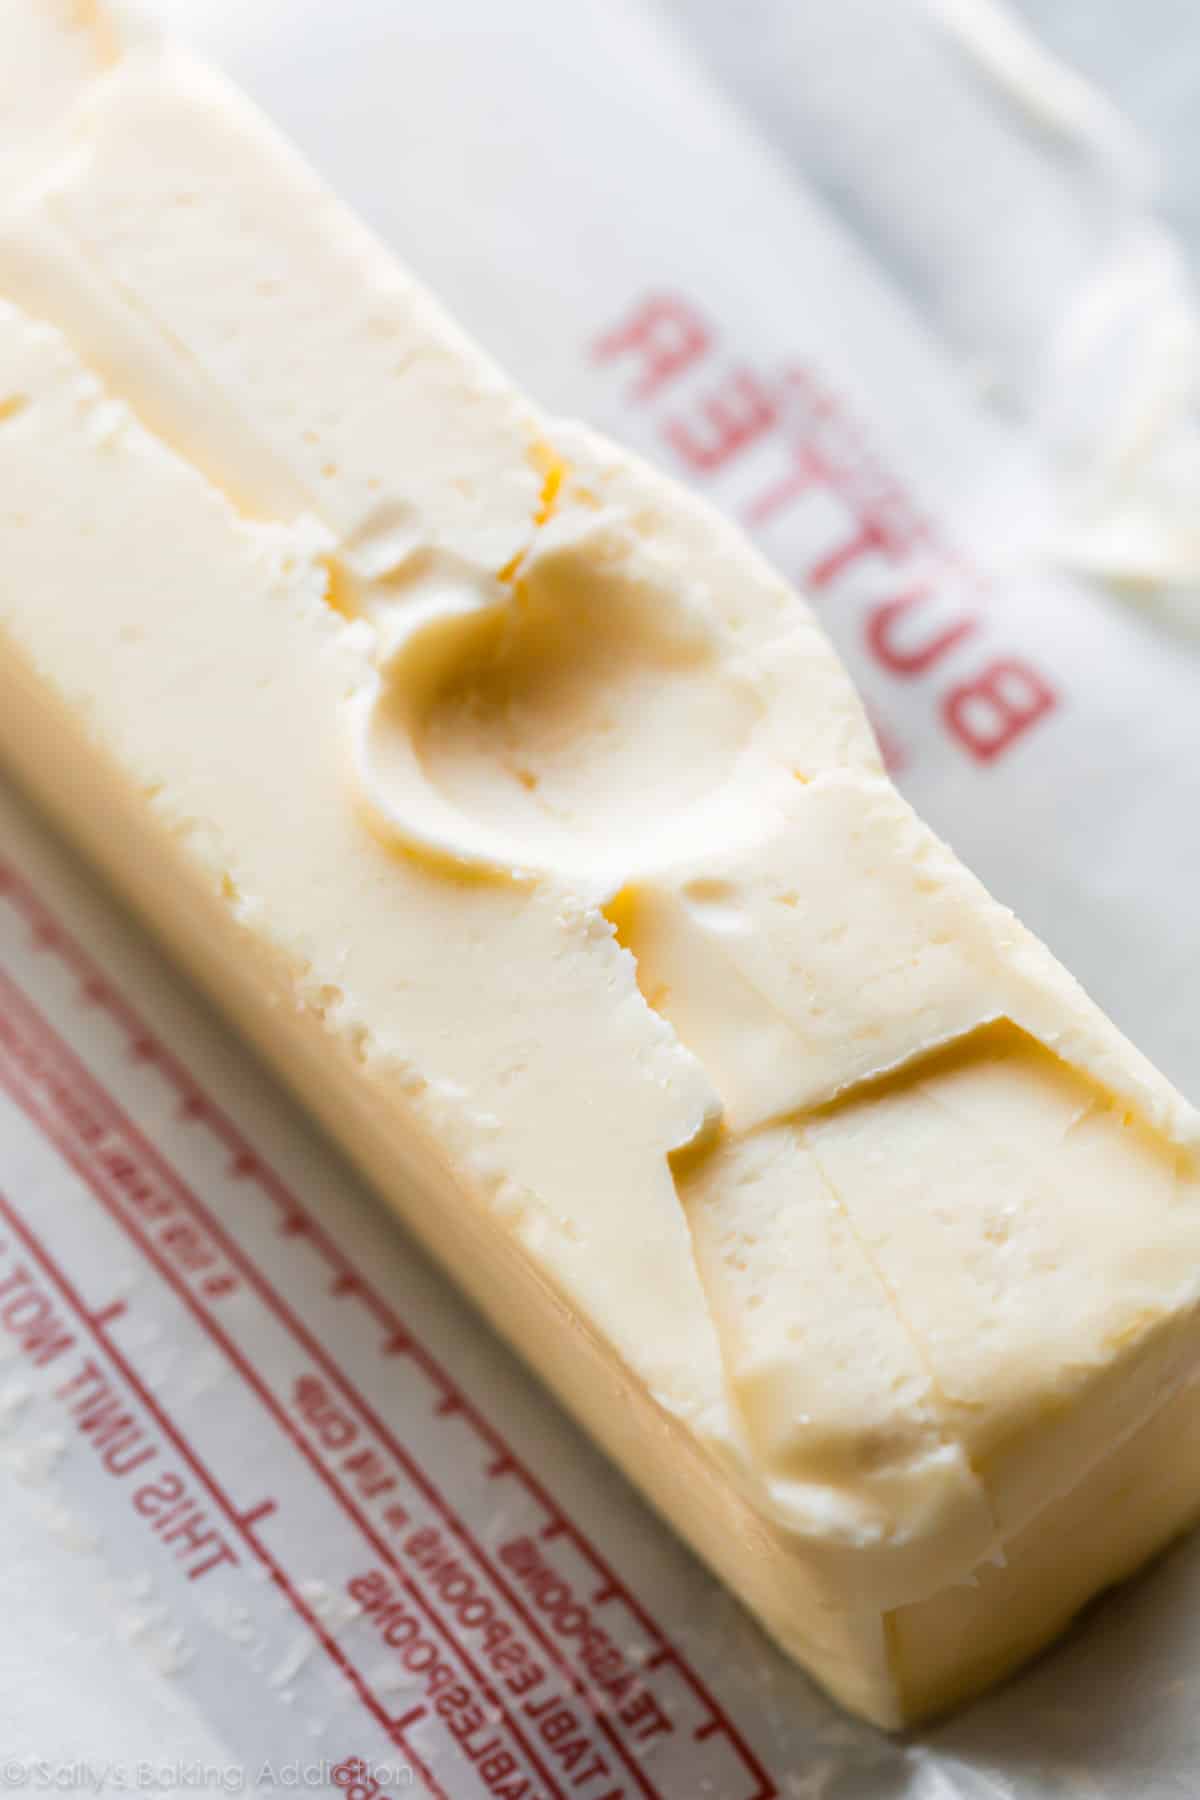
Success Tip: Make sure you start with proper room temperature butter. Room temperature butter is cool to the touch and about 65°F (18°C), which may be cooler than your kitchen. To test the butter to make sure it’s ready to cream, poke it with your finger. Your finger should make an indent without sinking down into the butter. The butter should not be shiny or greasy.
This is a recipe that requires some planning ahead.
After you make the cookie dough, it must chill for 1-2 hours and up to 2 days. Chilling is a mandatory step. Without chilling, these cookie cutter sugar cookies won’t hold shape. You don’t want your snowman-shaped cookie turning into the Stay-Puft Marshmallow Man (though that could work for Halloween cookies).
Also, the icing recipe below needs at least 24 hours to dry/set (but you can certainly eat them prior to the icing drying!). This is much longer than royal icing, which usually dries in 2 hours. So even though we’re not messing with finicky royal icing, we do have to wait longer to stack/transport the cookies.
After you make the cookie dough, divide it in half:
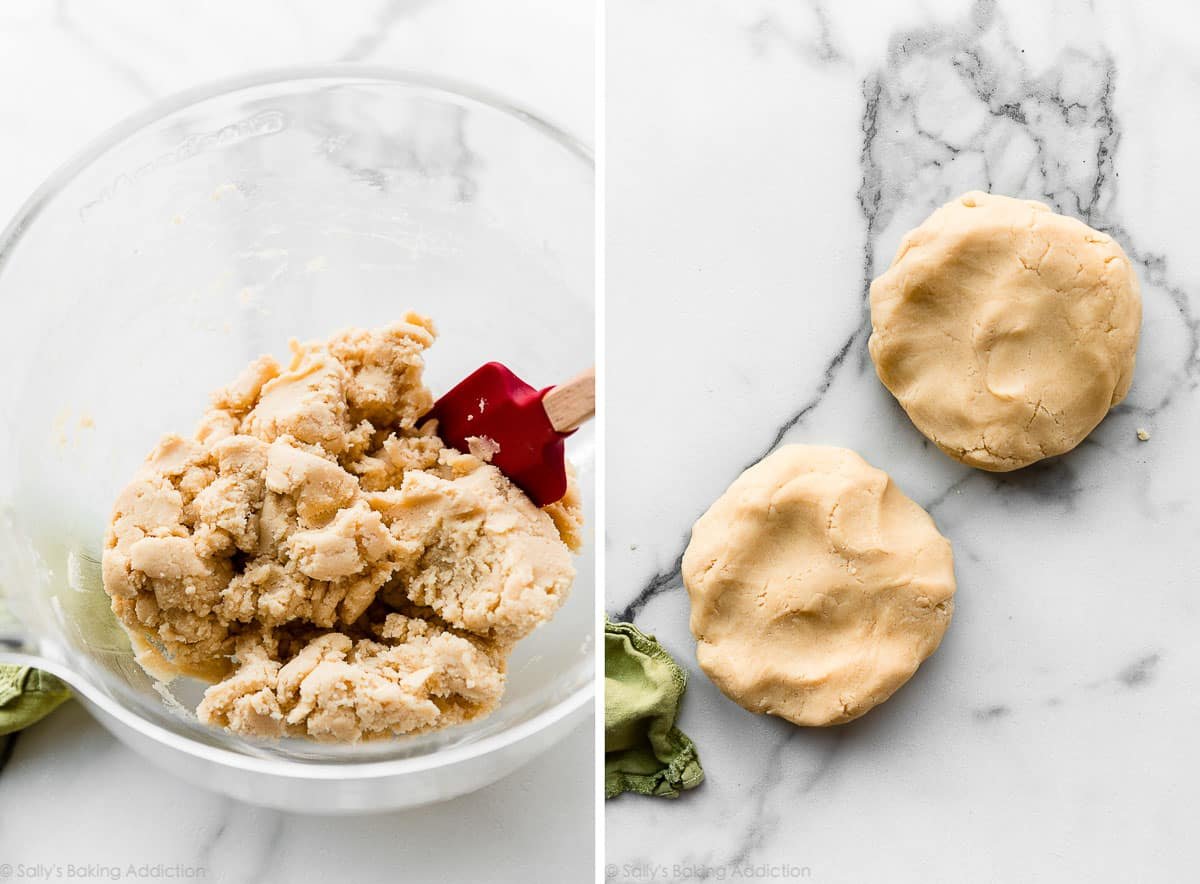
And then roll out each portion of dough before chilling:
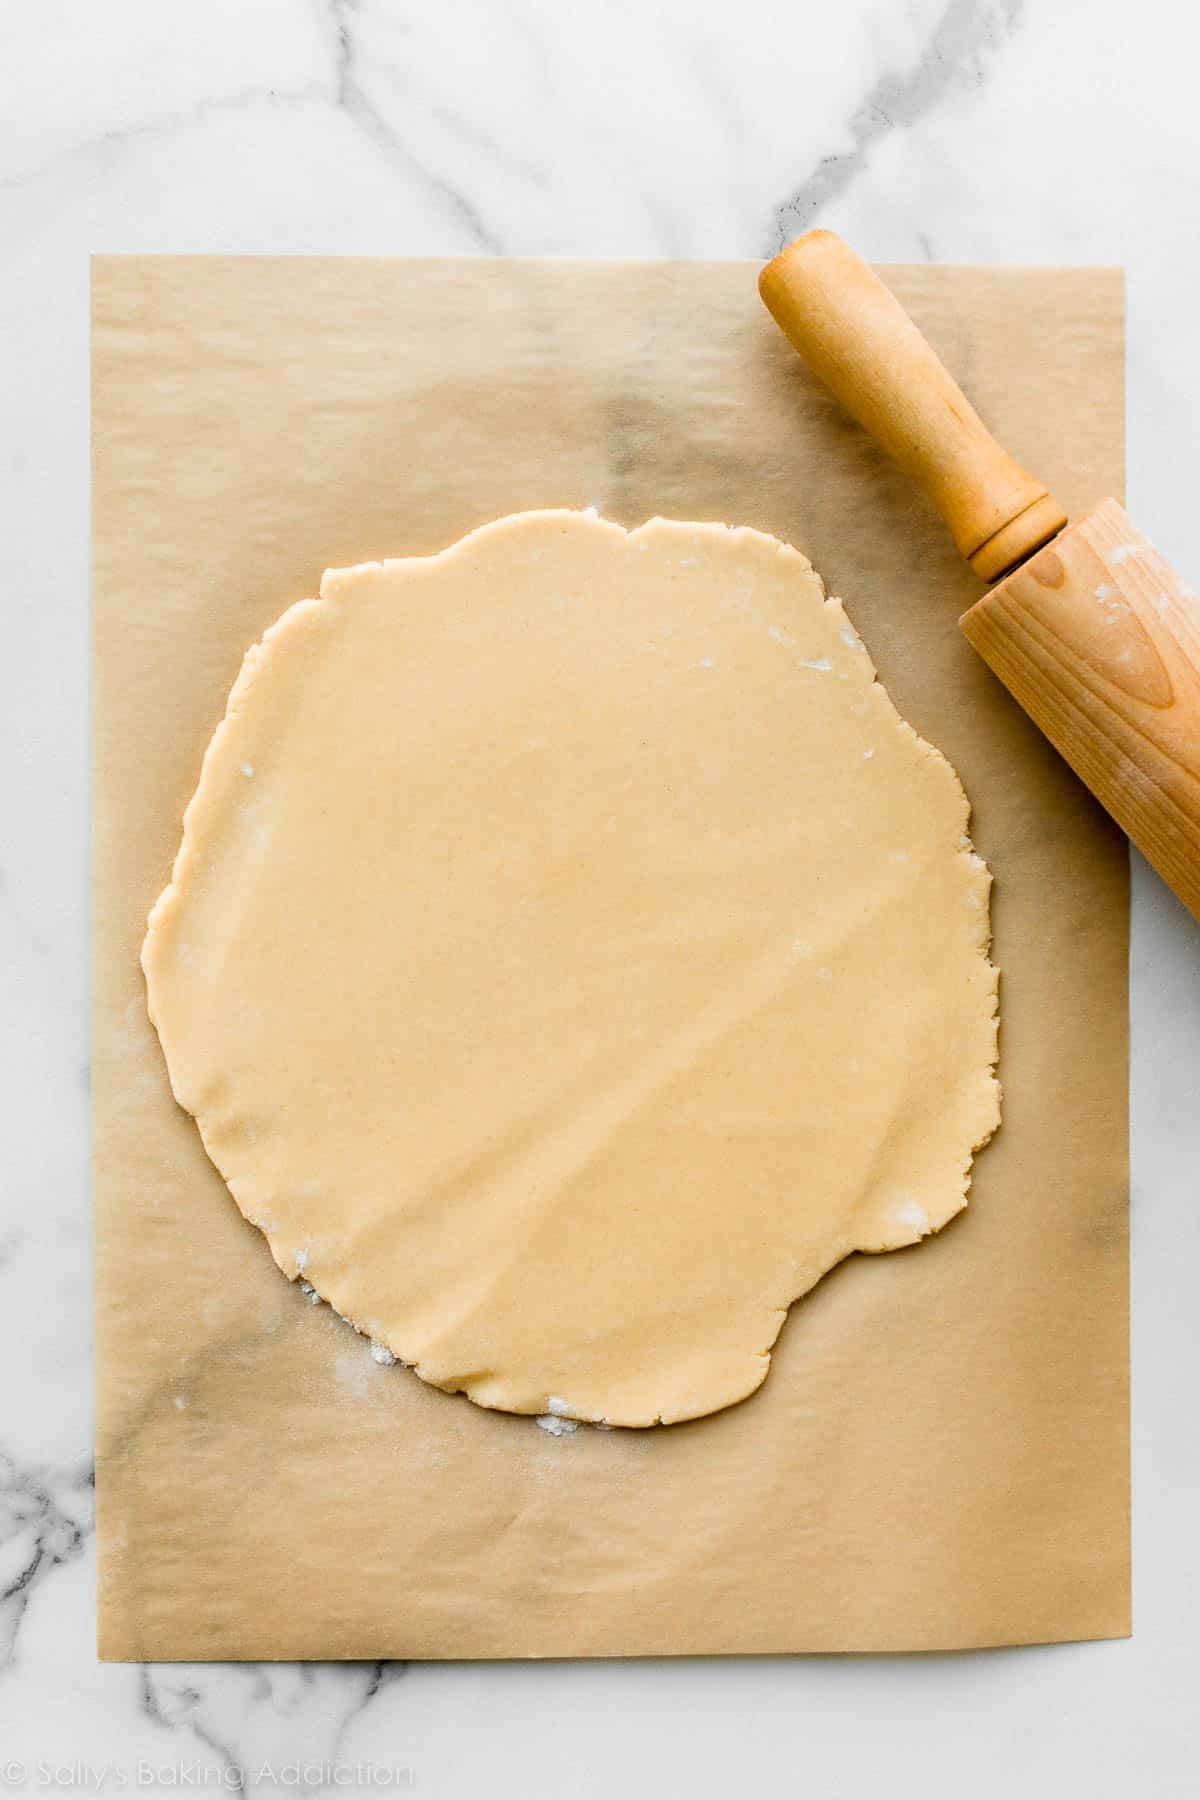
Let’s talk about rolling out this dough because it’s an unusual order of steps.
3 Tricks to Rolling Out Christmas Cookie Dough
- Trick #1: Pay attention to the order of the steps. Notice how I roll out the dough BEFORE chilling it in the refrigerator? That’s the most important trick! Let me explain why I do this. Just like when you’re making chocolate chip cookies, to prevent the cookies from over-spreading, the dough must chill. If you’ve ever tried rolling out chilled sugar cookie dough, you may remember how difficult it is to roll out cold, stiff dough. So, roll out the dough while it’s still soft (right after mixing it together) and then chill the rolled-out dough.
- Trick #2: Divide the dough in half before rolling it out. Why? Smaller sections of dough are easier to roll out.
- Trick #3: Roll out the cookie dough directly on a silicone baking mat or parchment paper so you can easily transfer it to the refrigerator. Pick the whole thing up, set it on a baking sheet, and place it in the refrigerator. If you don’t have enough room for two baking sheets in your refrigerator, simply stack the pieces of rolled-out dough on top of each other, with parchment paper or silicone baking mat in between. You can see me doing this in the video tutorial below.
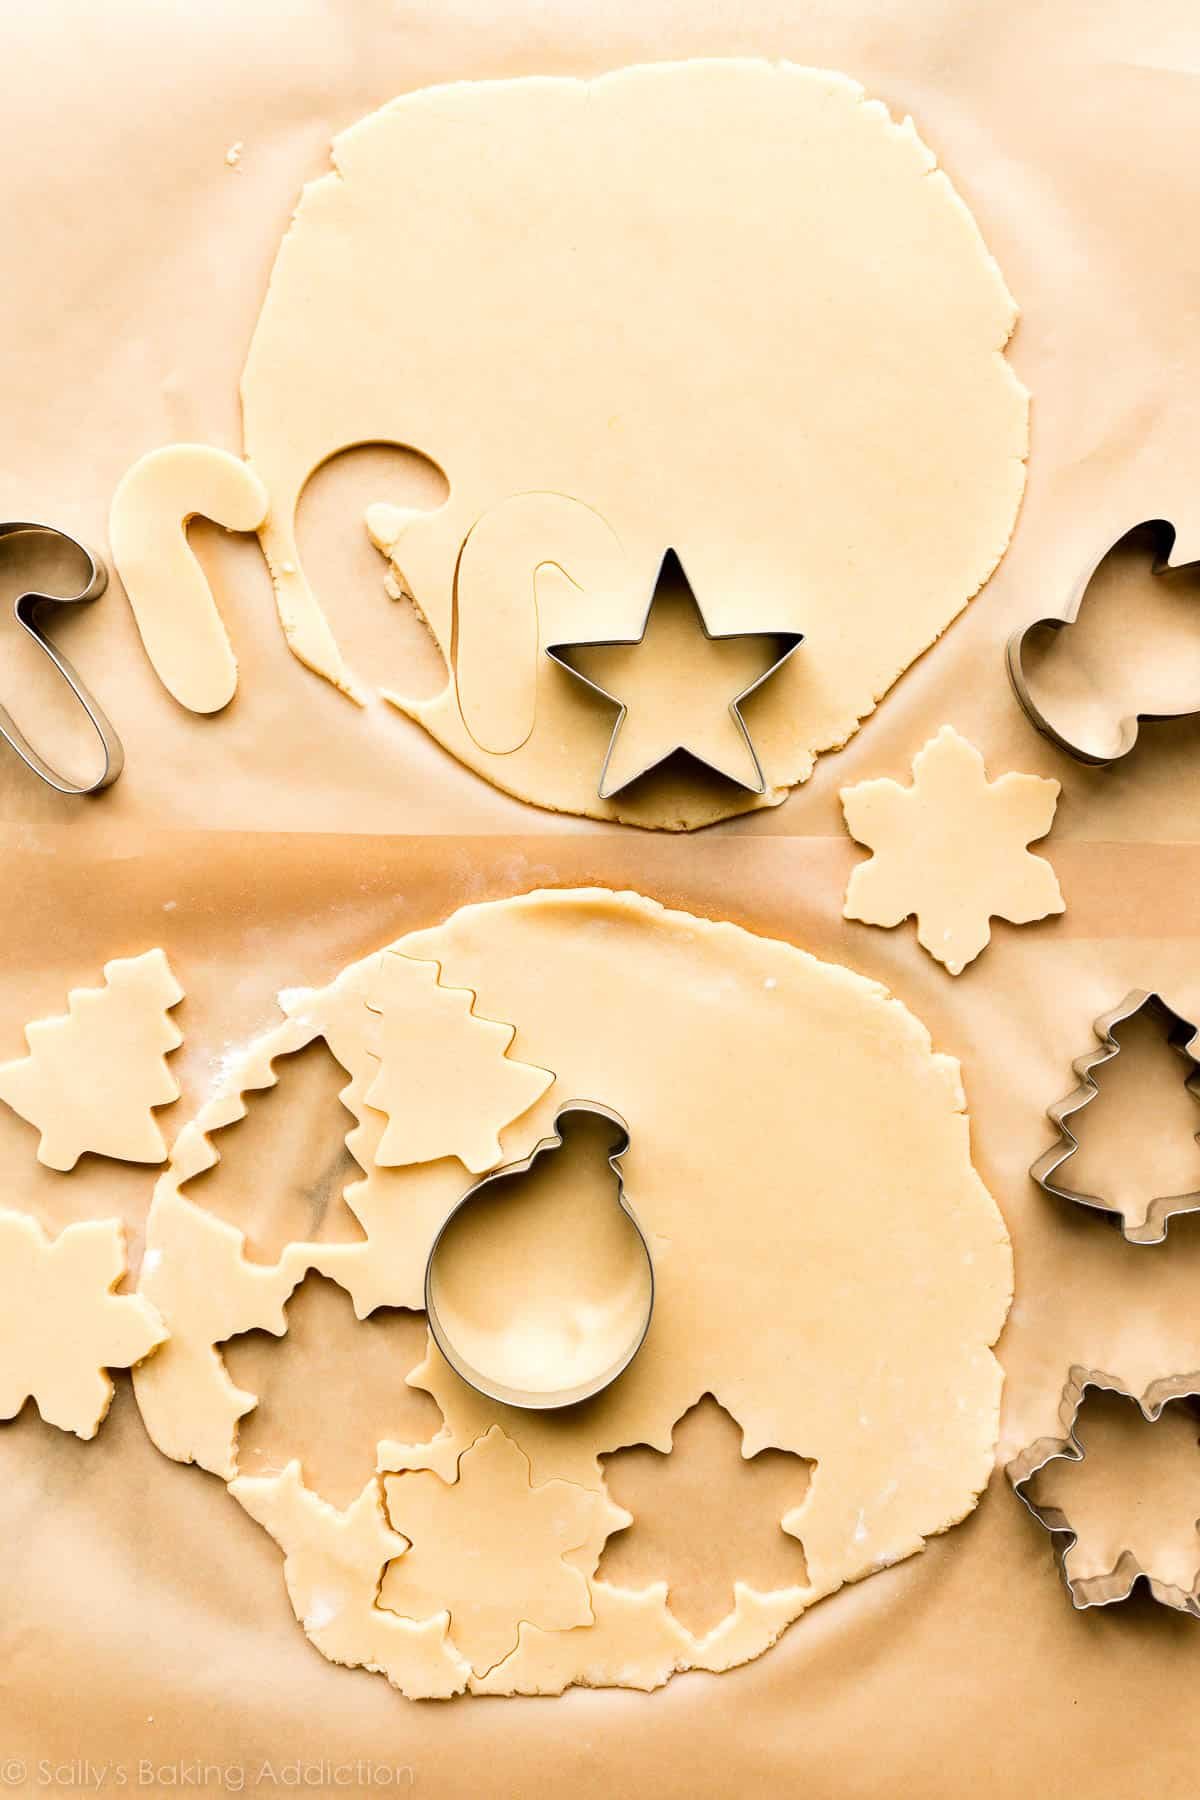
After the rolled out dough chills for at least 1-2 hours, use cookie cutters to cut out shapes and re-roll your scraps. Remember, you have two slabs of dough.
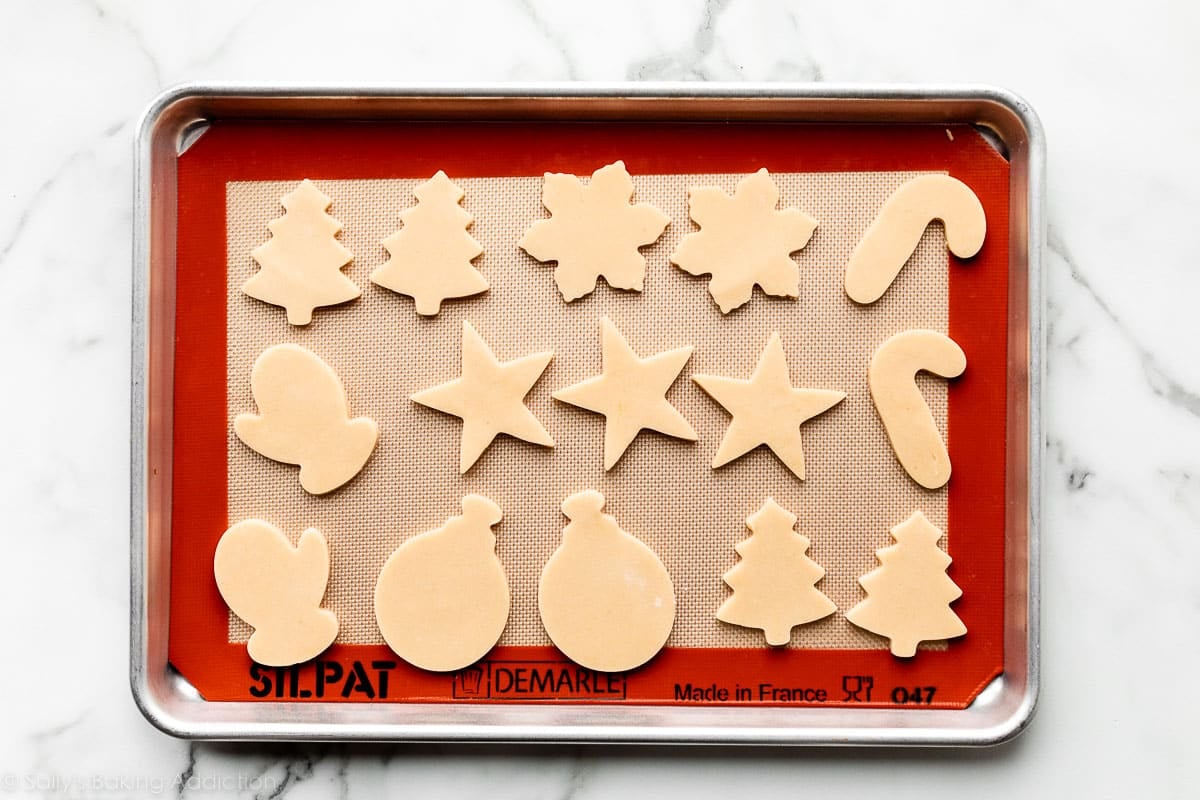
Arrange cookies on a lined baking sheet. I usually get about 2 dozen 3-inch cookies from this recipe. Here’s some of the cookies before baking:
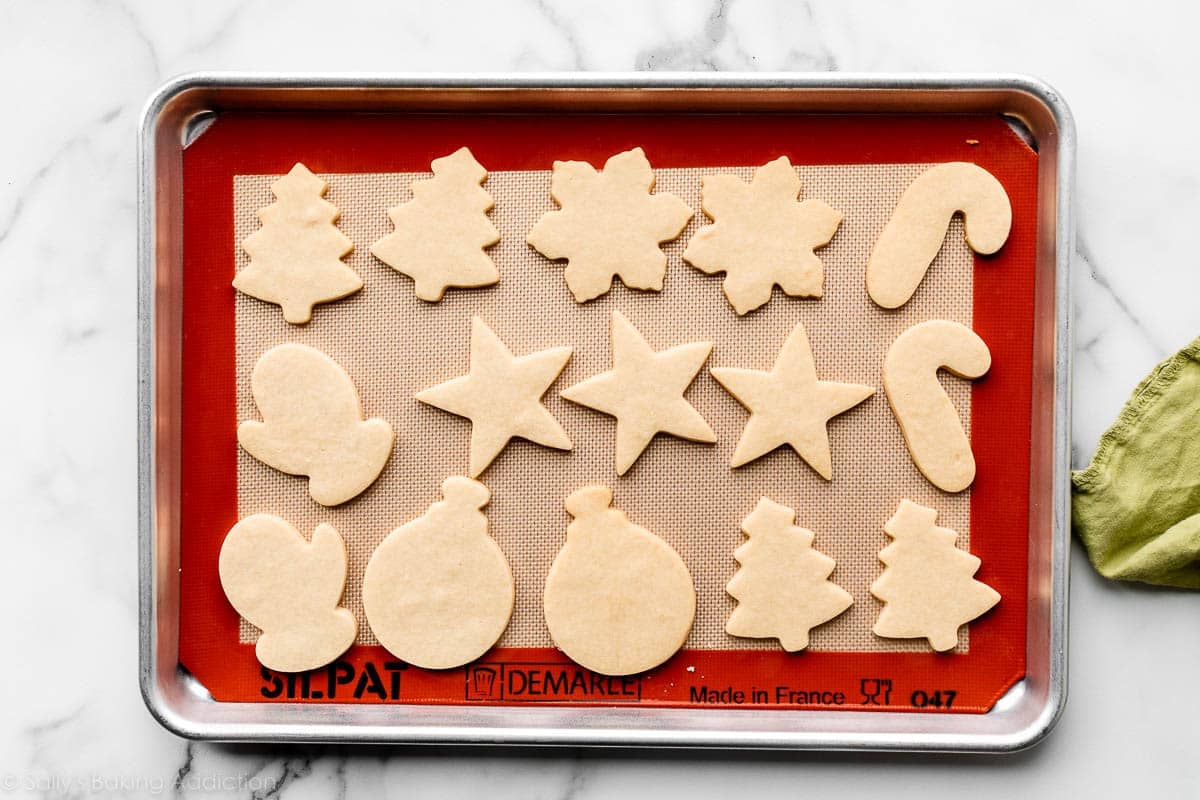
And after baking:
How Thick Do I Make Sugar Cookies?
These sugar cookies remain soft because they’re rolled out pretty thick. Roll out the cookie dough to about 1/4 inch thick, or just under (about 6mm). Yes, this is on the thicker side and, yes, this produces extra thick and soft cookies! If you have difficulty evenly rolling out dough, try this adjustable rolling pin. Speaking from experience, it’s incredibly handy!
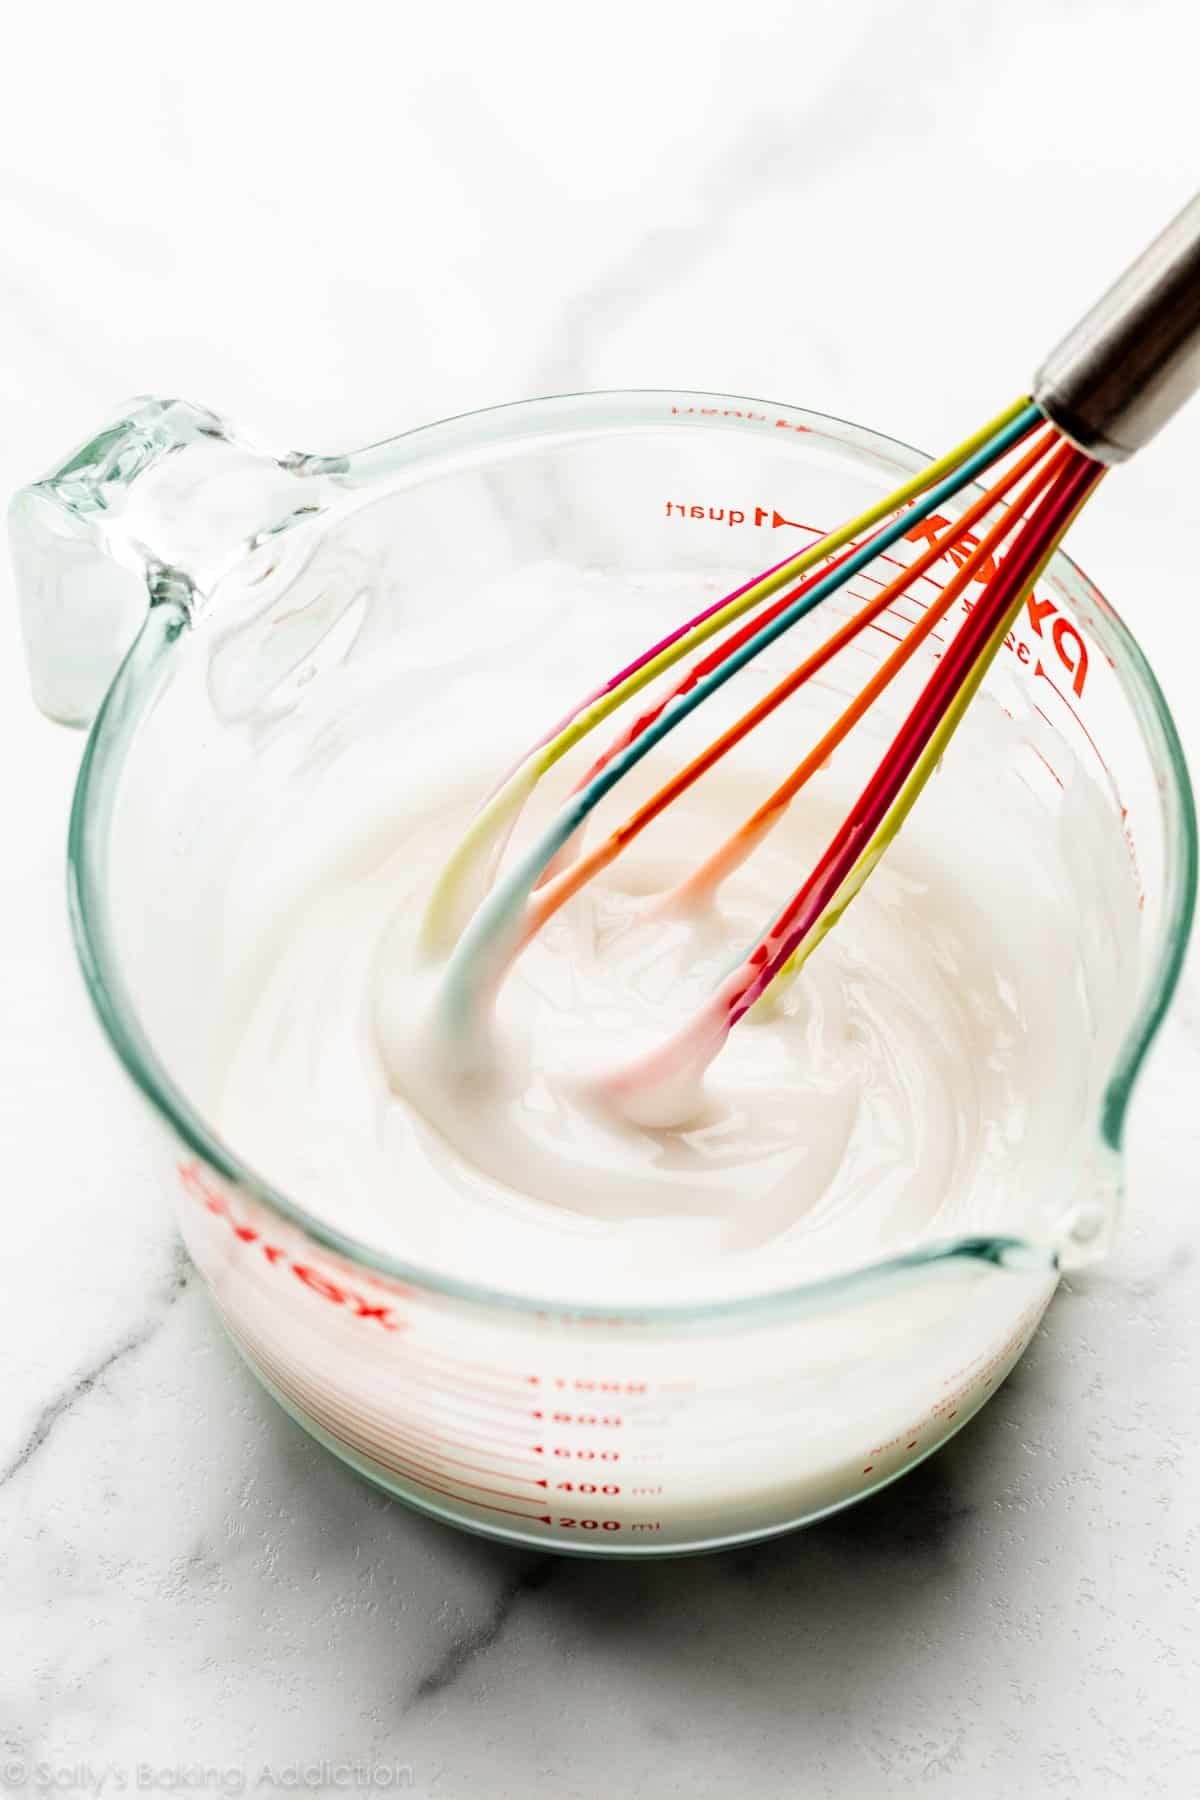
Use My Easy Cookie Icing
My easy cookie icing recipe below is a great alternative to traditional royal icing. It’s like a very thick opaque glaze and comes together quickly with a fork and a mixing bowl. This is one of my favorite ways to decorate sugar cookies because it’s low maintenance, but still delivers pretty (and tasty) results. I have a separate Cookie Icing page dedicated to it, and it can be used on pretty much any cookie cutter cookies like gingerbread cookies and chocolate sugar cookies.
Here’s why you’ll love this cookie icing:
- 5 basic ingredients
- Can tint the icing different colors
- Can use squeeze bottle or piping tips to decorate
- Manageable for everyone
- Doesn’t dry into hard cement texture
- After it dries, you can stack, freeze, and transport cookies
You need confectioners’ sugar, water, vanilla extract (replace with water to keep the icing stark white), a touch of corn syrup, and a little salt. The corn syrup gives the icing sticking power and creates a beautiful sheen when the icing dries. After 24 hours, the icing dries, so you can easily stack these Christmas sugar cookies for storage, transport, or even shipping.

Yes, you can create gourmet-looking Christmas cookies like the ones above without royal icing!
Christmas Sugar Cookie Tools
Before I leave you with the recipe, let me suggest some useful sugar cookie tools. These are the exact products I use in my own kitchen:
- Electric Mixer: Stand Mixer or Handheld
- Baking Sheets: I use and love these Baking Sheets.
- Parchment or Baking Mats: Silicone Baking Mats or Parchment Sheets (for rolling out & transferring the rolled out dough, and for baking the cookies).
- Rolling Pin: This is my favorite Rolling Pin.
- Cookie Cutters: If you’d like suggestions for cookie cutters, I love Ann Clark brand. (Not sponsored, just a genuine fan!) The pictured shapes came from this holiday cookie cutter set.
- Food Coloring: Liquid food coloring can alter the consistency of the icing, so I recommend gel food coloring. I like Americolor brand.
- Squeeze Bottle: To make decorating a breeze, use a squeeze bottle. They’re less intimidating than piping tips and very easy to use. If you want to use a piping tip, I love Wilton #4 for decorating sugar cookies. (You’ll also need a disposable or reusable piping bag if using a piping tip.)
You can also check out my recommended 10 Best Cookie Baking Tools.
Cookie Decorating Party
Are you hosting a cookie decorating day or party? Here’s my How to Host a Cookie Decorating Day guide with my best success tips, recommended supplies, and timeline for prep. This page is especially useful if you’re hosting a cookie decorating day for kids!

Craving More Christmas Cookies?
Description
Cut-out Christmas sugar cookies with crisp edges and soft centers. This icing recipe is so simple, making decorating hassle-free!
- Make sure you have allotted enough time (and enough counter space!) to make these cookies. The cookie dough needs to chill, the cookies need to cool completely, and the icing needs 24 hours to completely set. If enjoying right away and hardened icing isn’t a concern, you’ll only need about 3-4 hours to make these.
- Make the cookie dough: Whisk the flour, baking powder, and salt together in a medium bowl. Set aside.
- In a large bowl using a hand mixer or a stand mixer fitted with a paddle attachment, beat the butter and sugar together on high speed until completely smooth and creamy, about 2 minutes. Add the egg, vanilla, and almond extract (if using) and beat on high speed until combined, about 1 minute. Scrape down the sides and up the bottom of the bowl and beat again as needed to combine.
- Add the dry ingredients to the wet ingredients and mix on low until combined. Dough will be relatively soft. If the dough seems too soft and sticky for rolling, add 1 more Tablespoon of flour.
- Divide the dough into 2 equal parts. Place each portion onto a piece of lightly floured parchment paper or a lightly floured silicone baking mat. With a lightly floured rolling pin, roll the dough out to about 1/4-inch thickness. Use more flour if the dough seems too sticky. The rolled-out dough can be any shape, as long as it is evenly 1/4-inch thick.
- Lightly dust one of the rolled-out doughs with flour. Place a piece of parchment on top. (This prevents sticking.) Place the 2nd rolled-out dough on top. Cover with plastic wrap or aluminum foil, then refrigerate for at least 1-2 hours and up to 2 days.
- Once chilled, preheat oven to 350°F (177°C). Line 2-3 large baking sheets with parchment paper or silicone baking mats. Carefully remove the top dough piece from the refrigerator. If it’s sticking to the bottom, run your hand under it to help remove it. Using a cookie cutter, cut the dough into shapes. Re-roll the remaining dough and continue cutting until all is used. Repeat with 2nd piece of dough. (Note: It doesn’t seem like a lot of dough, but you get a lot of cookies from the dough scraps you re-roll.)
- Arrange cookies on baking sheets 3 inches apart. Bake for 11-12 minutes or until lightly browned around the edges. If your oven has hot spots, rotate the baking sheet halfway through bake time. Allow cookies to cool on the baking sheet for 5 minutes then transfer to a wire rack to cool completely before decorating. No need to cover the cookies as the cookies cool.
- Make the icing: Using a fork, stir the confectioners’ sugar, vanilla, corn syrup, and 4.5 Tablespoons (67ml) of water together in a medium bowl. It will be very thick and almost impossible to stir. Switch to a whisk and whisk in 1/2 Tablespoon (8ml) of water. If you lift the whisk and let the icing drizzle back into the bowl, the ribbon of icing will hold shape for a few seconds before melting back into the icing. That is when you know it’s the right consistency and is ready to use. If it’s too thick (sometimes it is), whisk in another 1/2 Tablespoon (8ml) of water or a little more until you reach the consistency.
- If you’re tinting the icing another color, stir in the food coloring. You can pour some icing into different bowls if using multiple colors. When tinting icing, only use 1-2 drops at first, stir it in, then add more as needed to reach your desired color. Remember, color darkens as icing dries.
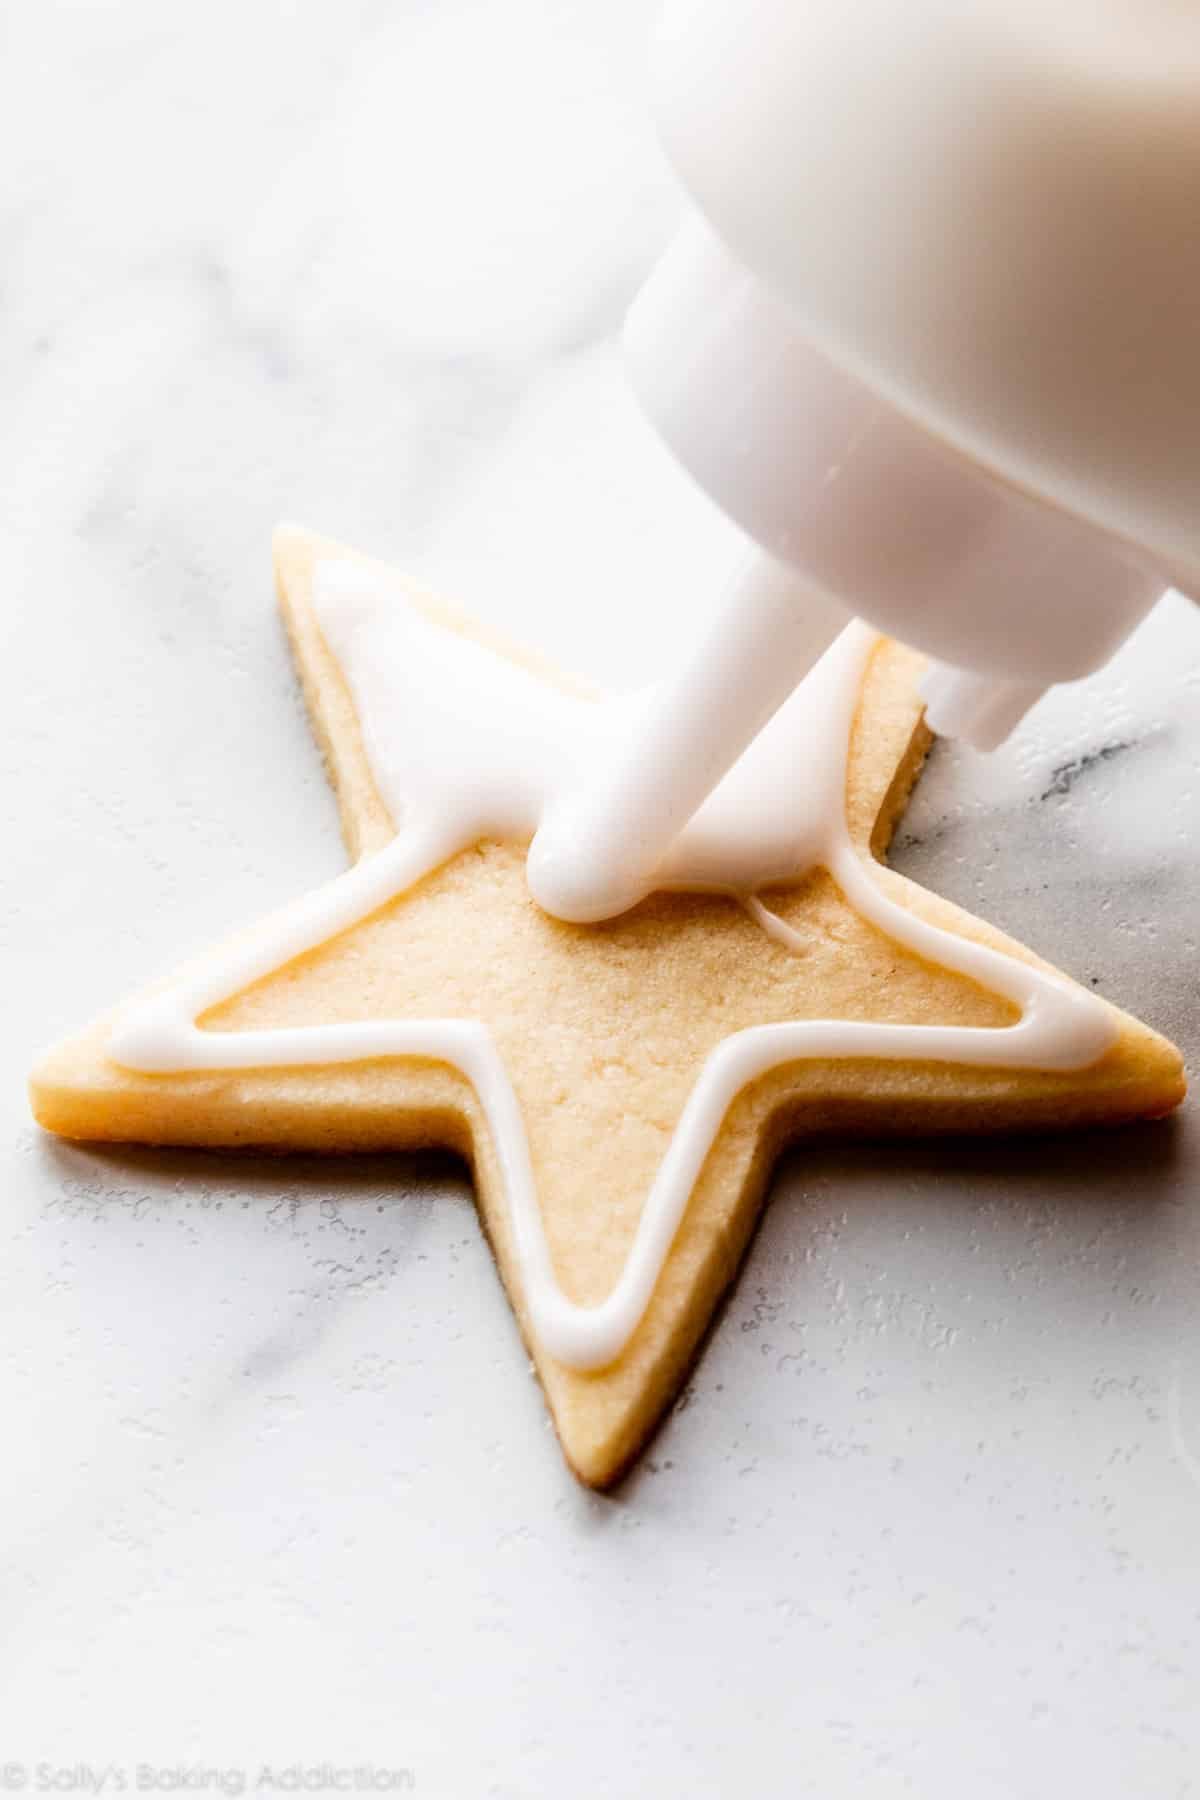
- Decorate the cookies: You can dip the cookies into the icing or use squeeze bottles or piping bags fitted with piping tips (I usually use Wilton Piping Tip #4). Decorate your cookies as desired. If using the squeeze bottles or piping tips, I usually outline cookies with icing first, then fill in the middle. If adding sprinkles on top of the icing, add them right after applying icing on your cookie.
- Let icing dry/set: Feel free to enjoy cookies before icing completely dries. Icing dries in 24 hours. No need to cover the decorated cookies as you wait for the icing to set. If it’s helpful, decorate the cookies directly on a baking sheet so you can stick the entire baking sheet in the refrigerator to help slightly speed up the icing setting. Once the icing has dried, these cookies are great for gifting or for sending.
- Cover and store decorated cookies for up to 5 days at room temperature or up to 10 days in the refrigerator.
Notes
- Freezing Instructions: Plain or decorated sugar cookies freeze well up to 3 months. Wait for the icing to set completely before layering between sheets of parchment paper in a freezer-friendly container. To thaw, thaw in the refrigerator or at room temperature. You can also freeze the cookie dough for up to 3 months before rolling it out. Prepare the dough through step 4, divide in half, flatten both halves into a disk as we do with pie crust, wrap each in plastic wrap, then freeze. To thaw, thaw the disks in the refrigerator, then bring to room temperature for about 1 hour. Roll out the dough as directed in step 5, then chill rolled out dough in the refrigerator for 45 minutes – 1 hour before cutting into shapes and baking.
- Special Tools (affiliate links): Electric Mixer (Stand Mixer or Handheld) | Baking Sheets | Silicone Baking Mats or Parchment Sheets | Rolling Pin | Holiday Cookie Cutter Set | Squeeze Bottle for decorating
- Room Temperature Butter: Room temperature butter is essential. If the dough is too sticky, your butter may have been too soft. Room temperature butter is actually cool to the touch. Room temperature egg is preferred so it’s quickly and evenly mixed into the cookie dough.
- Flavoring the cookies: I love flavoring this cookie dough with 1/2 teaspoon almond extract as listed in the ingredients above. For lighter flavor, use 1/4 teaspoon. Instead of the almond extract, try using 1 teaspoon of maple extract, coconut extract, lemon extract, or peppermint extract. Or add 1 teaspoon pumpkin pie spice or ground cinnamon. Along with lemon extract, you can also add 1 Tablespoon lemon zest.
- Corn Syrup: Corn syrup gives the icing sticking power and creates a beautiful sheen on the dried icing. I don’t recommend skipping it, but you can if absolutely needed.
- Salt: I know salt isn’t a typical ingredient in cookie icing, but it helps offset its sweetness. You just need a small pinch.
- Yield of icing: This amount of icing is enough for icing 2 dozen cookies. You’ll have plenty if you want to divide it and tint the batch multiple colors, too. Icing can easily be halved by halving all of the ingredients. (Still add a tiny pinch of salt.)
- Be sure to check out my top 5 cookie baking tips AND these are my 10 must-have cookie baking tools.
Keywords: christmas sugar cookies
Subscribe
Baking Made Easy
Are you new to this website? This email series is a great place to start. I’ll walk you through a few of my most popular recipes and show you exactly why they work.
Stay connected with us on social media platform for instant update click here to join our Twitter, & Facebook
We are now on Telegram. Click here to join our channel (@TechiUpdate) and stay updated with the latest Technology headlines.
For all the latest Food and Drinks News Click Here