I’ve always been paranoid about water damage in my home. We have hardwood floors throughout our home. If you’re a homeowner, you know the cost of repairing them if you have water damage. A slow drip from a leaky sink can turn into thousands of dollars in repair costs. Thankfully, with a HomeKit-enabled flood sensor from FIBARO, you can easily know when there’s water where there shouldn’t be before it turns into a major issue. Read on to learn why the FIBARO water leak sensor is the ideal option to use under all of your sinks.
HomeKit Weekly is a series focused on smart home accessories, automation tips and tricks, and everything to do with Apple’s smart home framework.
Why HomeKit for water leak sensors?
With its Apple HomeKit integration, the sensor can notify you instantly on your iPhone or Apple Watch whenever a water leakage incident happens in your home, and even trigger your HomeKit-enabled devices to take action. It can also blow through your existing Do Not Disturb schedule as well to alert you of a leak.
In this week’s HomeKit Weekly, we will explore the benefits and features of the FIBARO water leak sensor, how it works with Apple HomeKit, and how it can provide you with peace of mind to know there’s not a slow leak about to cause a lot of damage to your floors, cabinets, etc.
How to install the FIBARO water leak sensor

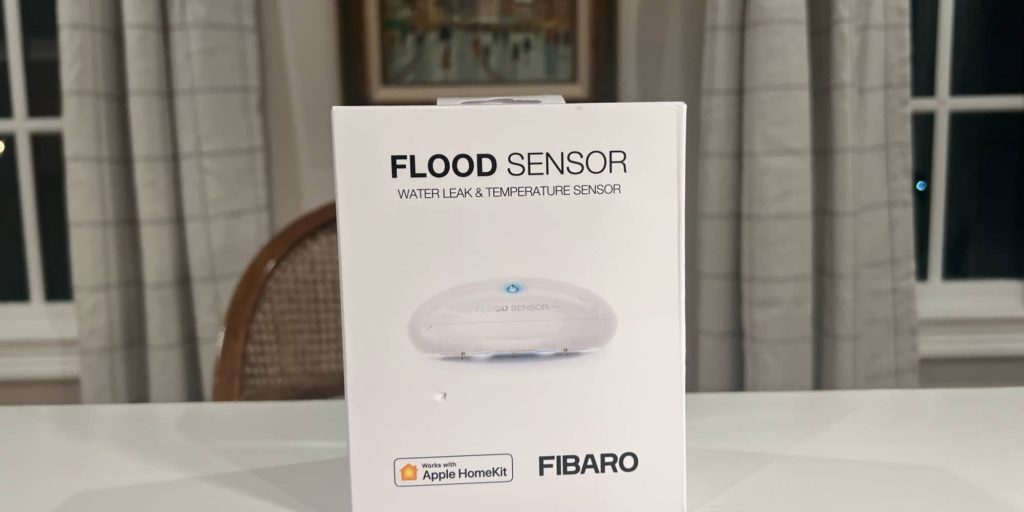
Installing the FIBARO water leak sensor is a breeze, and it only takes a few minutes to get up and running. Once you unbox it, you’ll want to take apart the sensor by unscrewing the top from the bottom so you can pull the tab out of the battery.
The next step is to locate the HomeKit code that’s included in the box. This code is unique to your device and is essential for pairing it with your HomeKit system. Once you have the code, open the Home app on your iPhone or iPad, and tap the “+” icon in the top right corner. Then, select “Add Accessory” and scan the HomeKit code using your device’s camera.
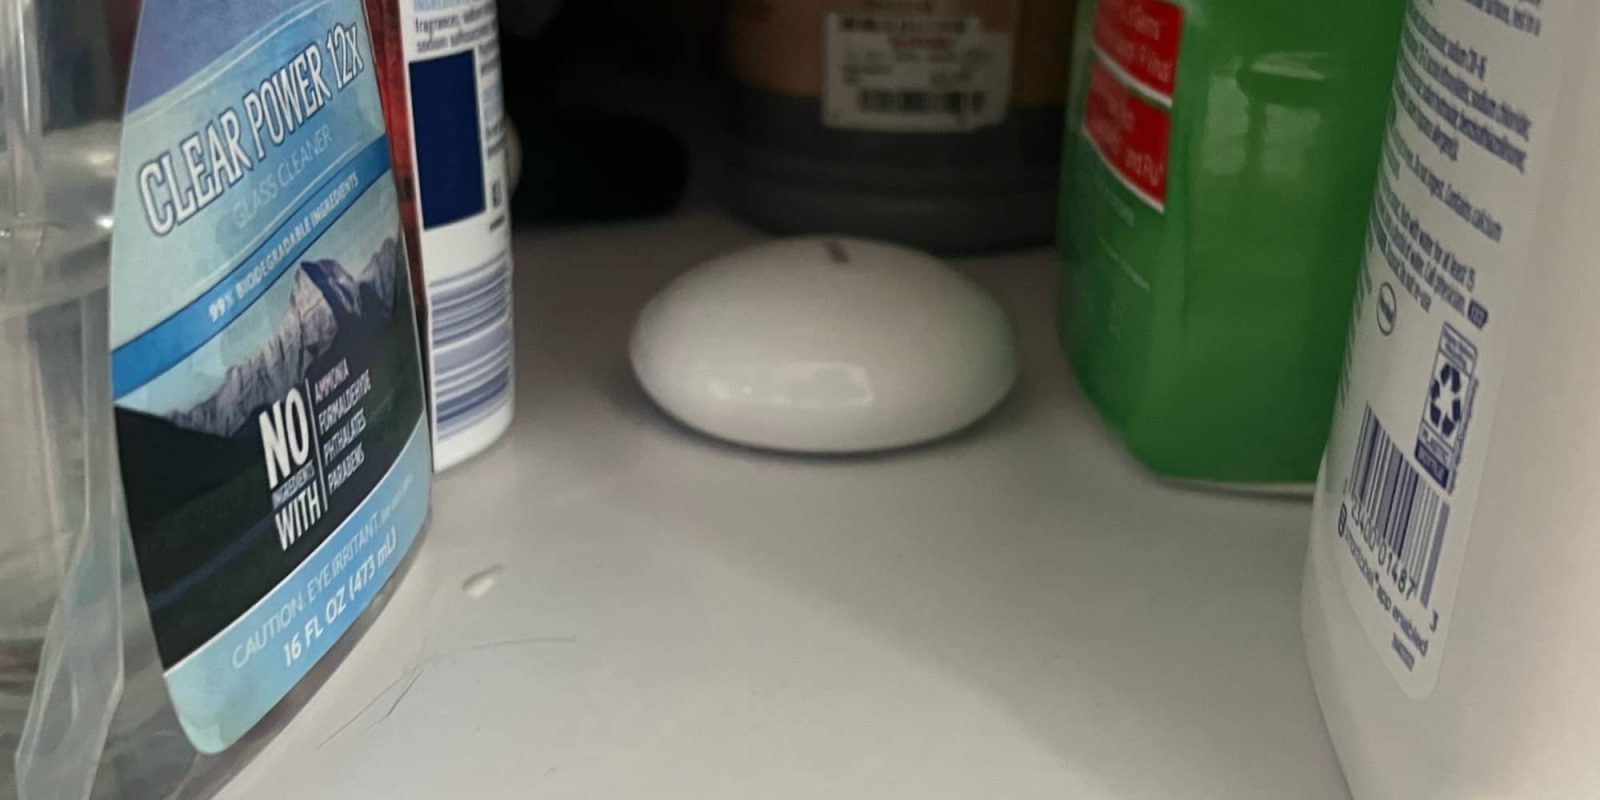
After you’ve scanned the code, the Home app will automatically detect the FIBARO water leak sensor and prompt you to select a room for it. Choose the room where you plan to place the sensor, and then tap “Next.” Now, it’s time to place the sensor in the desired location. You can place the device under sinks, near pipes, and other places where leaks or temperature changes are most likely to occur. The device is small and can fit in tight spaces, so it’s easy to conceal if necessary.
It’s important to note that you should write down the HomeKit code somewhere safe in case you lose the QR code. This code is required for setting up and configuring the device in the future, and you won’t be able to pair it with your HomeKit system without it. You can use an app like Homepass to store it for safekeeping.
Wrap-up
Truthfully, a water leak sensor paired with HomeKit might be the single most important item you can add to your smart home. It can send you important alerts to your iPhone if water is detected – even bypassing your Do Not Disturb settings. There are a bunch of great water leak sensors for HomeKit, but one thing that makes the FIBARO water leak sensor great is that it’s battery powered so it can be easily installed in places without a power outlet.
Stay connected with us on social media platform for instant update click here to join our Twitter, & Facebook
We are now on Telegram. Click here to join our channel (@TechiUpdate) and stay updated with the latest Technology headlines.
For all the latest For Top Stories News Click Here

