The thing about iPhones is that, since they’re pocket-sized and somewhat essential for most peoples’ day-to-day, we do tend to carry them around in a pocket, bag, or a backpack. This in itself is not a big deal, particularly if you have a screen protector and case on it, but it can and will lead to a different kind of issue: Dirty speakers.
Those little pin-sized holes along the outer edge of your phone (and the more obvious slit at the top you put your ear to) aren’t just for show — they’re for the speakers and microphone. And they can build up all sorts of gunk over time. Lint, fuzz, dirt, oily residue, skin particles, hair, earwax, and so on. Buildup like that isn’t just kinda gross, it can also affect the quality of sound coming out of your iPhone. It can also potentially impact the quality of your own voice on calls, if the microphone is also stifled by grime. This is why you’ll want to try giving your speaker openings a cleaning if you’ve begun to notice that your sound isn’t quite right.
As with any modern electronics (or older electronics, for that matter), it’s important to be careful when cleaning. Don’t use too much liquid, avoid applying too much force on surfaces, and don’t use any sharp metallic tools unless it’s explicitly recommended.
Try air
If your speakers are gunked up to the point that the audio is malfunctioning, chances are you’ll need to give them a more thorough cleaning using a slightly more involved method. However, it doesn’t hurt to try using air first to see if you can simply blow out any of the offending particles.
- It’s recommended that you do not use a can of compressed air for this process, as it can sometimes emit moisture that can damage electronics. Similarly, it’s a good idea to avoid blowing into your phone with your mouth (because of the moisture of saliva).
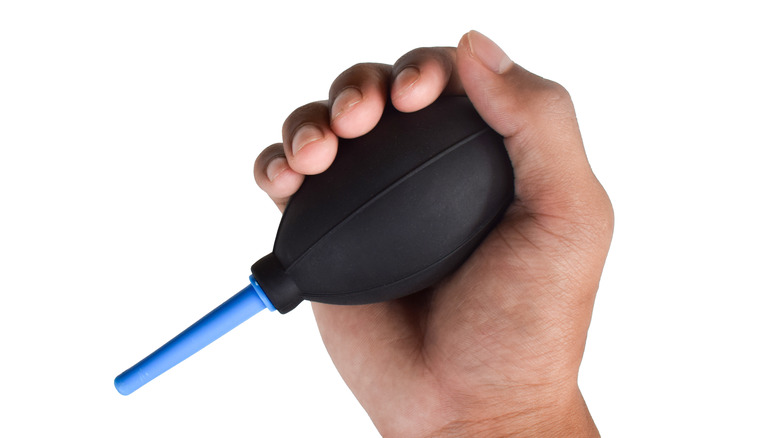
- Instead, get a hold of a silicone air blower or blower bulb, which are fairly easy to find online and possibly in some electronics or camera stores.
- Hold the tip of the blower an inch or two away from the speaker and give it two or three quick squeezes.
- Check your iPhone’s speakers to see if the debris has been dislodged, and if not use the blower again as necessary.
- If the particles won’t come out, try again while holding the blower a bit closer to the speaker openings.
In the event that blowing air into the speakers doesn’t work, or work well enough, it’s time to move on to Apple’s recommended method.
Use a brush

Apple suggests using a brush with soft bristles if you’re going to try and physically clean out your iPhone’s speakers. This can include a soft bristled cleaning brush, a soft bristled toothbrush, or even a small paint or makeup brush.
- If a case is attached to your iPhone, remove it so as to have easier access to the speaker openings.
- Make sure the brush is clean and dry — if it’s not, give it a shake, possibly a rinse, then give it time to dry out completely before starting.
- For the receiver (the speaker you put up to your ear), hold the brush at an angle and gently move it from side to side. Be careful not to brush in a manner that pushes particles deeper into the speaker.
- Gently tap the brush on a solid surface to shake out any particles you may have picked up, then brush along the receiver again. Repeat as necessary.
- For the other openings (along the bottom of the iPhone), gently stick the brush bristles into the small holes and twist it left and right slowly.
- Pull the brush out carefully to remove debris, give it a tap on a solid surface to dislodge what you’ve removed, then repeat as needed.
A soft brush is likely to be your most effective (and safest) option for cleaning out your iPhone’s speakers, but if you don’t have access to a brush there are other tools you can use with minimal risk.
Using tape
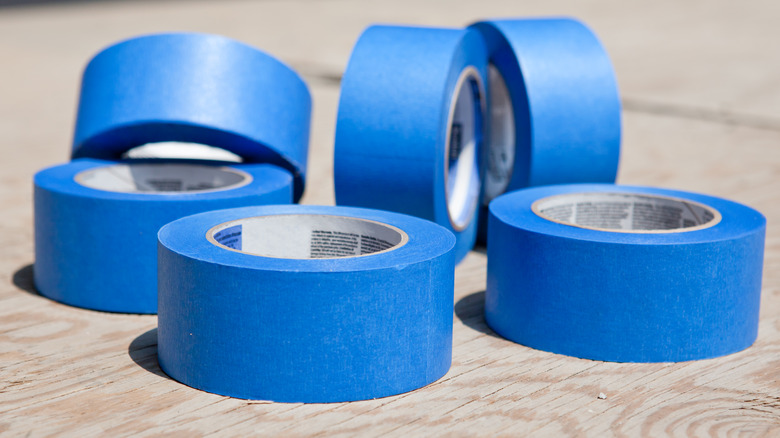
Don’t try to clean your delicate electronics with any tape you find laying around, as many kinds can leave residue behind — which will both add more detritus to your speaker openings and potentially collect more due to the stickiness. What you want to use for this approach is specifically painter’s tape, because it’s designed to peel off of surfaces without leaving anything behind.
- If you have a case on your iPhone, remove it for easier access to the speaker openings.
- Pull off a small strip of painter’s tape and wrap it around the tip of a finger with the sticky side facing out.
- Slowly and carefully roll the end of your taped-up finger back-and-forth along the length of the receiver opening.
- To clean out the smaller holes along the bottom of your phone, pull off a fresh piece of painter’s tape and roll it into a point.
- Stick the point of the tape into the speaker holes and rotate slowly. Be sure to use a fresh piece of tape once the one you’re using starts to get covered in bits.
There’s one more tool you can use to try and clean out your speakers if nothing else seems to be working, however. The catch is that, while it may be the most effective at scraping the ick out of small spaces, it also has the greatest potential to damage your iPhone if you aren’t
Try a toothpick
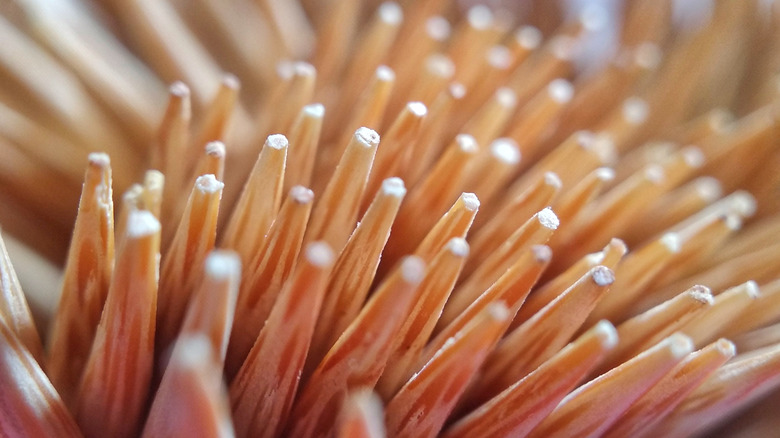
It’s highly recommended that you try any (or all) of the previous methods before attempting to clean out your iPhone speakers with a toothpick. These are essentially tiny wooden spikes that you’ll be jamming into hundreds of dollars worth of electronics, so if you do attempt this make sure you’re extremely careful and use a very light touch.
- Insert the pointed end of the toothpick into the speaker opening very carefully, making sure to stop pushing as soon as you feel it touch the surface.
- Gently angle the toothpick and pull up (out of the opening) to guide any unwanted material out of the speaker opening.
- Use a napkin or paper towel to wipe any debris off the end of the toothpick before repeating the process.
- The same approach works for the smaller speaker holes along the bottom of the iPhone, though you’ll need to be even more careful as their size will make it more difficult to see what you’re doing.
At this point if you’ve tried everything and you still can’t get the blockage out of your iPhone’s speakers, it might be time to take it in for a professional cleaning.
Stay connected with us on social media platform for instant update click here to join our Twitter, & Facebook
We are now on Telegram. Click here to join our channel (@TechiUpdate) and stay updated with the latest Technology headlines.
For all the latest Automobiles News Click Here